How to Build a Garden Bench - DIY
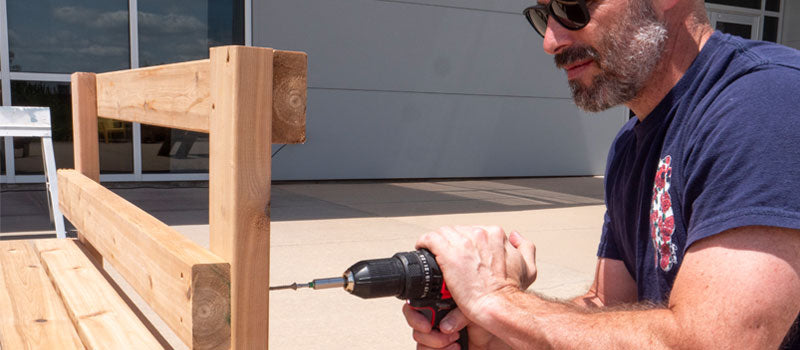
Building a bench is a great way to grow your woodworking skills while also creating a comfortable, functional piece of furniture. Fasteners Plus will cover each step of the process on how to build a DIY garden bench that will make a beautiful addition to your outdoor space. Check out the video below to watch how the Fasteners Plus sales team built this bench following Simpson Strong-Tie's garden bench project plans.
How to Build a Bench
Simpson Strong-Tie offers many ideas that help improve the function and beauty of your home. They create project plans that provide simple and easy instructions to achieve amazing results. Their DIY garden bench plans are no exception. The diagram below is labeled with each piece of lumber to help make the process go smoothly.

#1. Choose Connectors and Fasteners
Choosing the right connectors and fasteners will make a large difference in the integrity of your bench. Listed below are all the connectors and fasteners required for this project.
- (8) Rigid Tie RTA2Z or Outdoor Accents APRTA2 connectors
- (64) 1-1/2" Strong-Drive SD Connector Screws (SD9112 for RTA2Z) or the Outdoor Accents Connector Screws (SD10112DBB for APRTA2)
- (40) 2" Deck-Drive DSV Wood screws (DSVT2R110)
- (56) 2-1/2" Deck-Drive DSV Wood screws (DSVT212R80)

#2. Measure & Cut Lumber
To begin your bench project, the next step is to measure and cut the lumber. The lumber required is (7) pieces of 2x4" x 8" redwood lumber and (2) pieces of 1x4" x 8' lumber. Listed below are all the pieces and sizes of lumber that need to be cut for this specific bench plan.
Cut from 2x4" x 8'
- (1) 47-1/2" Seat Plank
- (2) 24" Front Legs
- (2) 18-1/2" Short Stretchers
- (2) 18-1/2" Seat Supports
- (1) 21" Arm Rest
- (2) 32" Back Legs
- (1) 21" Arm Rest
- (1) 46" Lower Back Support
- (1) 46" Upper Back Support
- (1) 41" Long Stretcher
Cut from 1x4" x 8'
- (10) 18" Back Slats
#3. Bench Installation
1. Attach (A) to (B) with 2-1/2" Deck-Drive™ DSV Wood screws. Lay five (A) planks, good-side face down, approximately 1/4" apart. Align (B) 3/4" in from the ends of the planks. Adjust the spacing between planks, if necessary. Attach (B) to the (A) planks, using two screws for each side of each plank (20 total).
2. Attach two Rigid Tie connectors to each leg (C and D) 15" up from the bottom. Place (B) (with planks already attached) into the connectors and attach with appropriate 1-1/2" SD screws.

3. Attach (E) with 2-1/2" screws between both sides of the bench legs 4" up from the bottom. Attach with two screws on each side.
4. Attach (I) to (E) at 6" from the inside of the back legs (D) using two 2-1/2" screws on each side.
5. Attach (F) with 2-1/2" screws to the inside of the back legs 24" up from the bottom. Attach (G) flush with the top of the back legs. (Note: Use four screws for each connection, two diagonally through the front and two on the opposite diagonal through the back.)

6. Attach (H) to (C) and (F), using two 2-1/2" screws at each connection.
7. Attach (J) slats with two 2" screws into (F) and two screws into (G). Attach both end slats approximately 3/8" in from each back leg (D) and evenly space the remaining eight middle slats. (Tip: Rest a 2x4 on the seat to get a uniform 1-1-1/2" distance between the seat and the seat back.)

